Making Your First Program
Creating your first application might seem a little hard at first and if you read further into my guide, without learning the basics of the basics, you might be slightly or very confused. But do not fret! If you follow my guide at your own pace, you will be C# coding in no time.
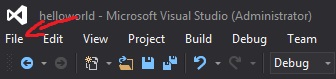
To create the file, open up the Visual Studio client. Then find the file tab in the top left of the program.
Click on “New” – and then “Project”.
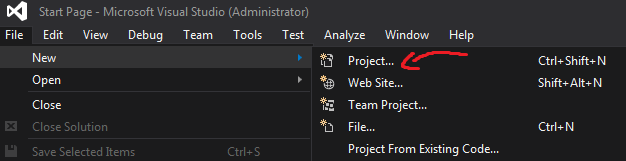
After you’ve done that, a screen should come up asking what kind of program you want to make. For this guide, I’ll get you to create a console application to show you around the basics of the C# environment. Select “Console Application” on the window.

Make a name for your application and then select where the destination will be. If you don’t know what to call it, you can name it “helloworld”. After you’ve done that, click “OK”.

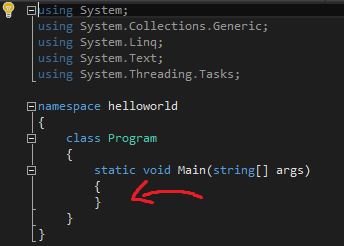
A screen with a lot of strange things should show up, what you need to focus on is the space in between the brackets under the “static void main” method.
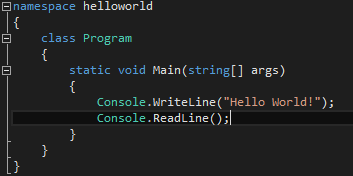
Once you’ve got a line to write on, type in 'Console.WriteLine (“Hello World!”);' and then under that create a space and write 'Console.ReadLine();'. Start the program by click the green start button on the top of the screen or by pressing F5 on your keyboard.
A command console will come up and you will see the following line “Hello World!”. There you have it! You’ve made a program actually do something.

On the next section we will be dealing with Windows Form programs and making your program functionally active.